We are loving our new home but wanted to bring some personal elements into the mix. A gallery wall is a perfect way to elevate a space and share some of your most memorable moments! My hubby and I decided to tackle this project on our own and man was it rewarding in the end.
What You Need:
- Photo Prints
- Picture Frames
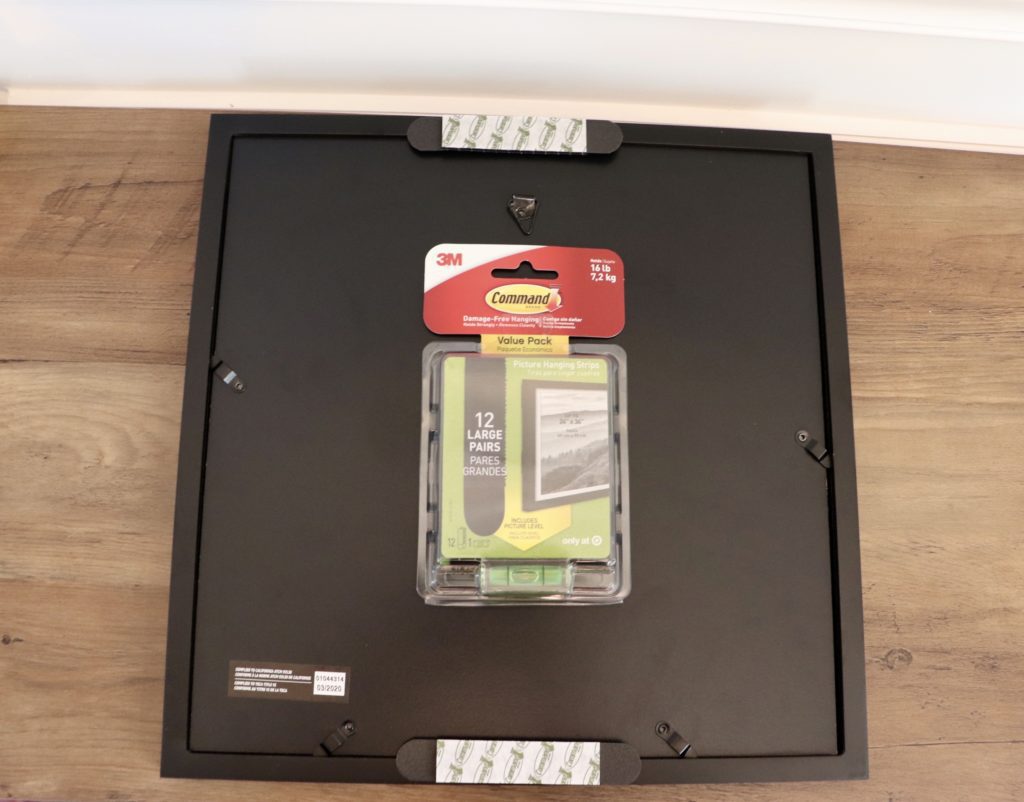
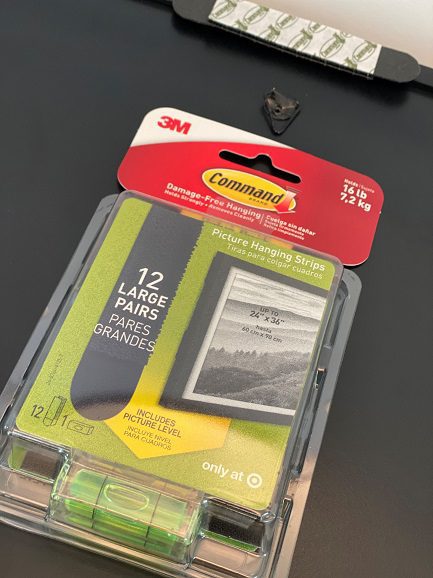
- Command Picture Hanging Strips
- Measuring tape
- Pencil
- Leveler
- Step Ladder
Find Your Frames
Measure the space and figured out how many frames you want. We decided on this 9-frame Galley Wall Set from Target. It was cost-effective and we didn’t have to buy the frames separately. They came with cool prints if you are designing a space that you don’t want to make super personal but want to spruce it up (Rental, office, etc.).
Other options: 8×8 9 pc and a multi-size 12 pc
Select Photos and Order Prints
We did a ton of research and decided to go with Nations Photo Lab. We loved the quality, they have a ton of size options and the shipping was super fast. Picking 9 weeding photos was by far the hardest part of this process. Whatever you decide, make sure that it represents you and your taste. Have fun with it, tell a story, a gallery wall is a show stopper. You have their attention, show out!
Lay It All Out
Once you get everything, put your photos in the frame and lay them out. You want to step back and make sure it all flows and truly fits your space. The frames I mentioned above come with a full printout of the gallery wall. Hold it up so you can see the space it will take up on the wall. Use this as your guide to really visualize what the wall will look like and set your markers. We used a pencil here to mark the top of the gallery.
Hang Up Your Photos
- Measure the entire wall across
- Subtract the size of the first row of frames
- Use the remainder to determine how much space you need between the ends of the wall and each photo (we had 5 inches on each side)
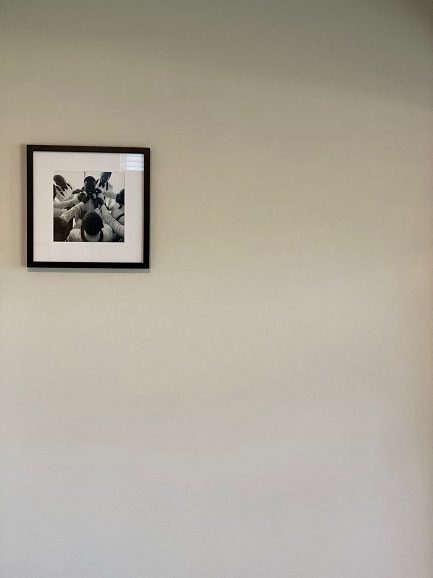
- Mark the spot for your first photo
- Connect the strips so one side of the set is sticking to the frame and the other is ready to stick to the wall
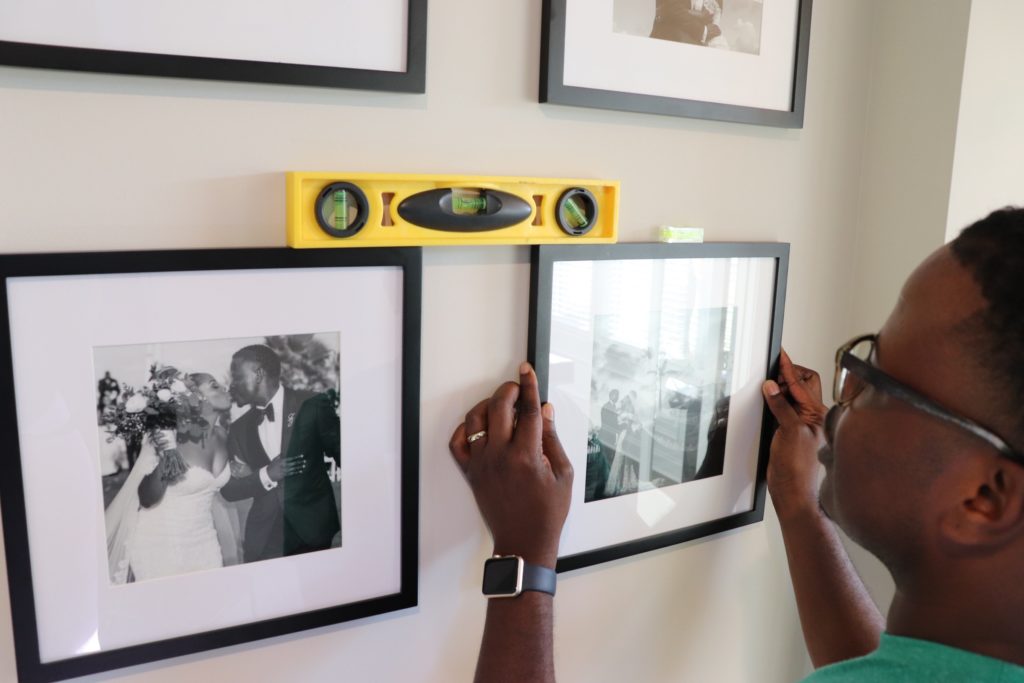
- Placed the mini leveler on top of the frame and hold it up to the wall to ensure it is straight –the first photo sets the tone 🙂
- Stick the photo to the wall
- Measure x inches to the right and use a large leveler to ensure the 2nd photo is level with the 1st
- Repeat for the next photo until your first row is complete
- Measure x inches down and use a leveler again to ensure the 1st photo on the send row is in line with the 1st photo on the next row
- Repeat until you are done
- Use a microfiber cloth to wipe away fingerprints
Enjoy You Hardwork
Our gallery wall has been up for a few weeks and I am still in awe at how beautiful it looks! A super chic way to share one the best day of our lives, thus far, with our guests.
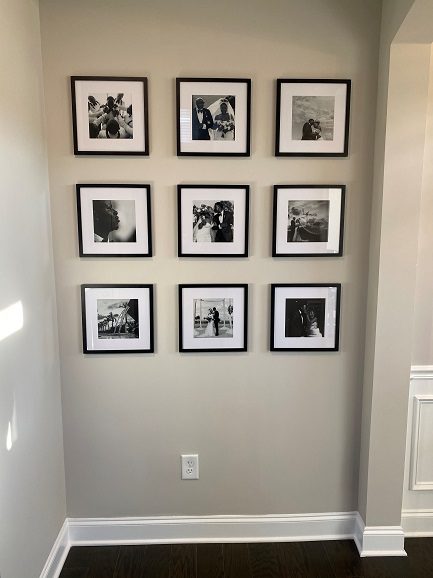
How have you personalized your home lately?
XOXO, Laya

I love this DIY gallery wall! We are definitely doing one soon! Thanks girl
Yeessss it will never get old 😍